Table of Content
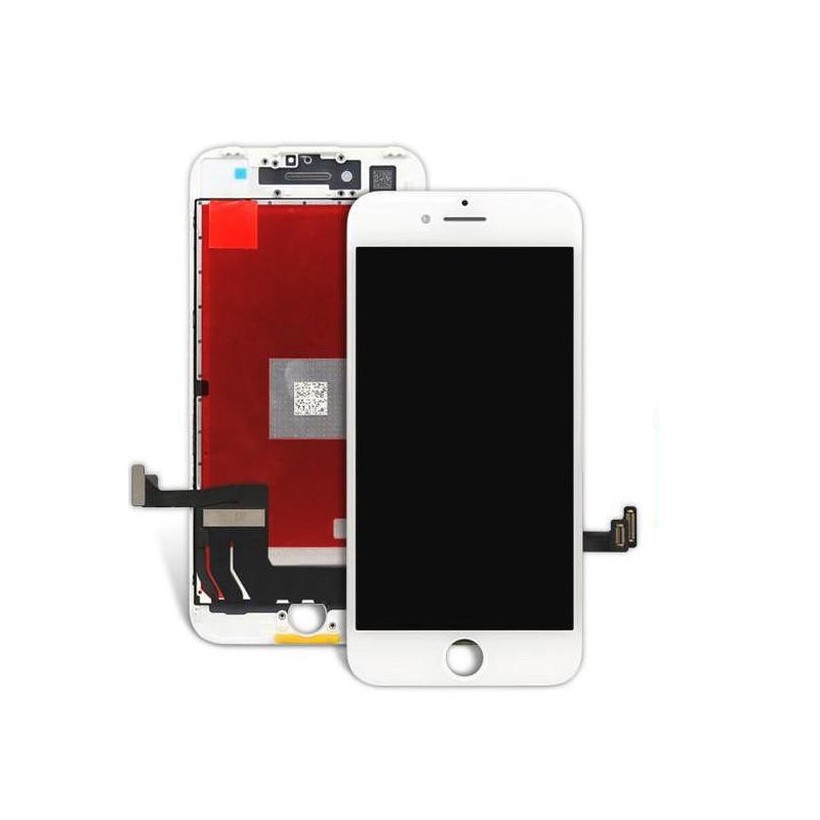
This iPhone 7 Plus screen replacement includes all of the small parts pre-installed in the assembly, saving time and increasing the quality of your repair. Replace a cracked or scratched front glass panel or malfunctioning LCD display on your iPhone 7 Plus. If your screen is shattered but relatively intact, you can put off a potentially-costly repair by sealing the broken pieces behind a screen protector. It also won't maintain your iPhone's water resistance.
Reconnect the front-facing camera flex to the logic board. Re-attach the home button bracket. There are four tri-wing screws. Do not overtighten as this can cause home button issues. The shorter screw goes directly on the home button.
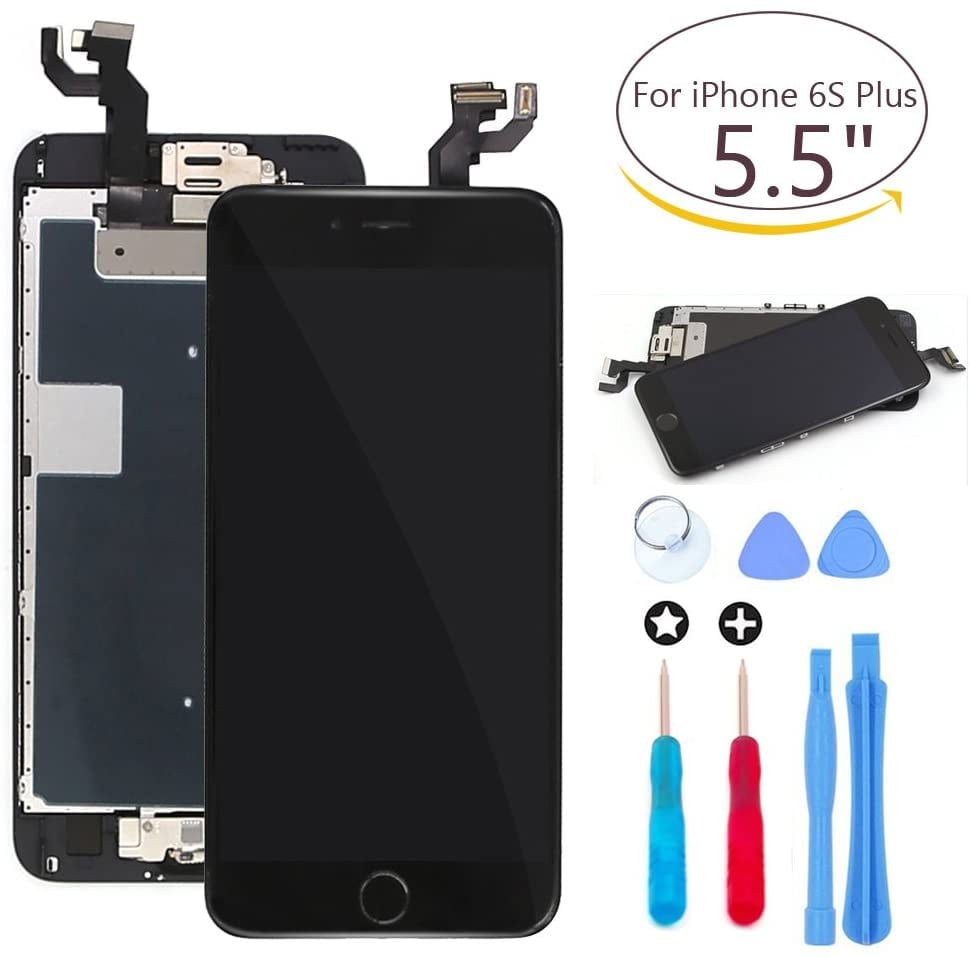
results for iphone 7 screen replacement with home button and camera
The left side of the screen will open off the body like a book opened from the back cover. The flex cable connecting the screen to the battery will still be attached, so exercise caution. Remove the two pentalobe screws on the bottom edge of the phone. They are on either side of the lightning port. The iPhone 7 Plus's screen is beautiful, to be sure — but that glass beauty can break if dropped, smashed, or otherwise chipped against similarly-hard surfaces.

Fix Kits Fix it the easy way with our all-in-one repair kits. Screw in the two pentalobe screws that go on either side of the lightning port. Using your plastic spudger, gently press the ambient light and proximity sensor back into place. Remove all the screws around the sides of the LCD shield. There are 5 tri-point screws and 1 Philips head screw on the bottom edge. Unscrew the pentalobe screws holding the Touch ID and home button bracket.
Remove the Home Button / Touch ID
Most screws cannot be interchanged. Always make sure to back up your phone before any repair. While holding the Power button down, press and hold the Volume Down button on the left side of your phone. If you have lost some of the internal screws while trying to fix your iPhone 7 Plus and now you.. Use this silver iPhone 7 Plus back housing replacement to change out your d.. Using this iPhone 7 Plus back housing replacement, you can replace the damaged back housing on ..

Some breaks are worse than others, but if you completely smash your screen, you're probably in need of a screen repair. If you are not 100% satisfied with your purchase, you can return your order to the warehouse for a full refund . We believe that in order to have the best possible online shopping experience, our customers should not have to pay for domestic return shipping for warranty exchanges. So if for whatever reason you're not happy with your purchase, just go through our easy self-service return process.
Featured Products
Here are a couple, in order of easiest to most complicated. We stand behind our tools. If something breaks, we'll replace it—for as long as you own the iFixit tool. This product can expose you to chemicals including lead which is known to the State of California to cause cancer and birth defects or other reproductive harm.
Pry the adhesive holding the Touch ID and Home button to the back of the digitizer. The Touch ID sensor must be removed carefully. Failing to remove it safely or breaking any of its connectors will require visiting an Apple Store. Using the metal spudger, slowly and carefully separate the screen of the iPhone from the body. Start on the bottom edge by the Lightning port and proceed slowly.
This replacement part does not include the home button. You will need to transfer the button assembly from your old display to retain home button functions. Use your spudger to remove the ambient light sensor and proximity sensor. This is a thin cable that is easy to tear so use caution. Start by heating up the device's interior adhesive strips with a dehydrator, heat gun, or heat mat.
In addition, iFixYouri now also provides electronics recycling, device buy-back, refurbished device sales, and smart home setup. Fold the screen over the body. Insert the top of the screen into the frame first. Proceed carefully, it will click back into place but don't press too hard on the glass.
At any point during a repair, if the adhesive becomes hard to separate, apply more heat. Apply enough heat to loosen adhesive but not enough to damage the device. There are several ways to repair or replace a broken iPhone screen, depending on your monetary situation and free time.
While not required to repair your iPhone, we also recommend you use a magnetic mat and screw capsules to keep everything organized. You're going to be working with some tiny screw here; these will help you keep them on your table and not lost on the floor. Not only will need a new screen — an "LCD Assembly", if you want to be technical about the part — you're going to need some tools if you're going to do this right. Or at all. Group your screws so you can keep track of where they came from.
Heat guns are the quickest, but be careful because it is easy to overdo it and damage the device. Twenty minutes in the dehydrator should be enough. Ten to twenty seconds of a heat gun on a low setting should be all you need to loosen the adhesive. If your glass is intact, but your screen is black or you have lost touch control, you should always try a soft reset of your iPhone before this repair. Genuine OEM Parts are selected to meet the same high standards for quality and reliability.

Next, we will remove the five Phillips head screws that hold the silver bracket on the top of the LCD assembly. Remove the silver EMI shield on the mid-right side of the phone needs. It is secured by four tri-point screws; one of those screws is longer than the others.
By using them for repair and replacement, you can maintain your device's performance and value at considerable savings. Chris is the founder of iFixYouri, a repair company specializing in smartphones, tablets, computers, and all things electronic. They repair thousands of smart devices on-location in Palm Beach County, Boston and the greater Orlando area each month. The iFixYouri warehouse space is a state-of-the-art repair depot for our corporate and website customers.
Fasten the display flex EMI shield back onto the mid-right side of the phone using its four tri-point screws. The longer screw goes in the right corner. After separating adhesive, keep the housing and screen in close proximity until flex cable is disconnected.


No comments:
Post a Comment